Table of Contents
Virtual Desktop Server
Leiden Observatory provides a cluster of six powerful compute servers that Sterrewachters can use for their research projects (the old bach1,2,3 servers are now integrated in this system and the original /net/bach#/data2 disks have been copied to /net/vdesk/data2/bach#). Students are expected to use their own laptop or home computer (or possibly some other device) to connect to the cluster via the internet. This page provides information on how to connect to the cluster, and some basic information on how to use it. More general information about the computer environment and the software used by Leiden Observatory can be found here. Be aware that the storage space available to users on the /home disk is very limited and student should familiarize themselves with the disk quota system in place on the /home disk to avoid issues. You can store your research data on the /data2 disk which has no quota. Note: Do NOT use the /data1 disk. It is small and not for you to use!
Overview
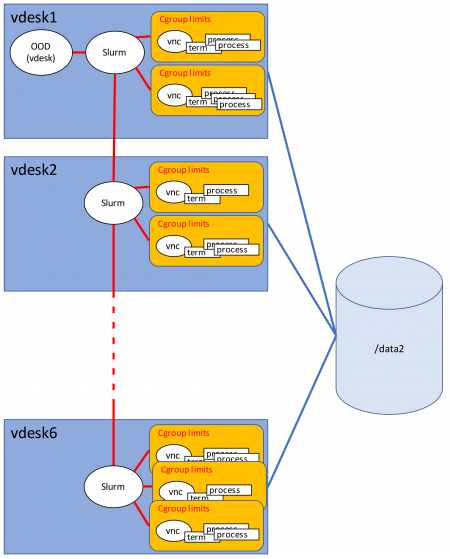
Schematic overview of the virtual desktop server. Each server in the cluster (called vdesk1 to vdesk6) has 96 CPU cores and 500 GB of internal memory, and runs the Linux operating system RedHat version 7. The total disk space for storage (/data2) attached to these servers will be of the order 300 TB. When requested, the software package Open OnDemand allocates resources to a user and the system utilizes slurm resource manager to distribute the load over the different compute servers. The file system of the individual servers is shared and can be accessed from each server. From other desktops and servers inside the Leiden Observatory network, this disk is accessible using /net/vdesk/data2/.
How to use the Virtual Desktop Server
To access the Sterrewacht computer environment, you can create a virtual workstation on our virtual desktop server. Just use a browser to go to the web portal at https://vdesk.strw.leidenuniv.nl.
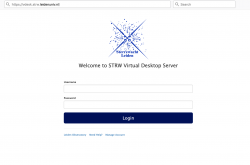
* Log in to the virtual desktop server using your Sterrewacht username and password. Note that students need a Leiden Observatory computer account (which is not the same as an ULCN account) to be able to connect to the server.
Start a virtual Workstation session
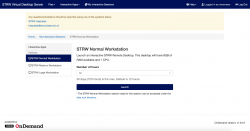
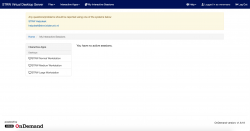 * After logging in, you see the dashboard (see image on the right). The dashboard provides various options. Here you can select the virtual workstation you would like to run (see below), they are listed on the left side of the page and under the button
 Interactive Apps. Already running sessions are also displayed on this page. Note that only one virtual workstation per user can be run at the same time.
* At the top, there is also the files button, which gives you access to your home directory and the data disks attached to the virtual desktop server. It also allows you to upload or download files between your personal laptop or home desktop and your Sterrewacht home or data disks.
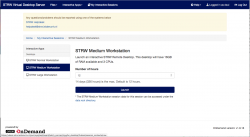
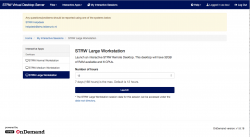
* The Virtual Desktop Server offers three different virtual workstations, a normal workstation, a medium workstation and a large workstation. The resources (number of CPUs, memory and maximum execution time) provided for each virtual workstation are listed below. When a workstation is selected, the number of hours that the virtual workstation is needed must be entered (the default is 12 hours). The maximum number of hours a virtual workstation can be used depends on the type of workstation. Only one virtual workstation per user can be run.
Note that these resource limits also apply to all processes you start from your virtual workstation. So even if you spawn processes in the background, the resource limit are imposed on such jobs as well. If you have access to one or more of the physical observatory science servers ssh-ing into those servers will escape the virtual workstation resource limits.
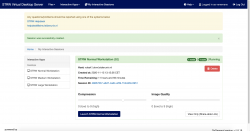
* After selecting a virtual workstation and entering the number of hours, press launch and your request will be queued. After the resources have been allocated the virtual workstation is running. To connect to the virtual workstation, press the blue bar with the text Launch STRW Normal/Medium/Large Workstation. This will open a new tab in your browser with a graphical interface to the server.
Stop a virtual Workstation
* To stop using the virtual workstation (but keeping it running for access at a later stage), just close the browser tab with the graphical interface.
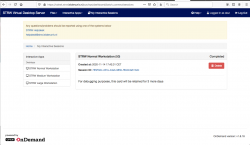
* To stop your virtual workstation (in case you do not need it anymore and want to free the resources, or you want to change to a virtual workstation with a different set of resource limits), you can press the red Delete button. After you have closed your virtual workstation you will see a box on the dashboard allowing you access to the logfiles of the closed session. If you are not interested in this information you may delete this information box by clicking the red button labeled Delete.
Reconnect to a virtual Workstation
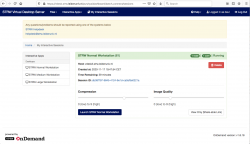 * To reconnect to your running virtual workstation you login again on the virtual desktop server. In the Dashboard you will see your running virtual Workstation still active. To connect to that running virtual workstation, press the blue bar with the text
 Launch STRW Normal/Medium/Large Workstation. This will open a new tab in your browser with a graphical interface to the server putting you back where you left off.
Note that you can reconnect also from a different computer (eg, connect from your desktop at home and start a session, close your laptop, travel to the institute, reconnect from a desktop in a computer room and continue your session)
Storing and accessing your project data
Project data can be stored on the disk storage connected to the virtual desktop server. It is important that you avoid storing project data in your /home directory as the amount of storage you have on the /home disk is limited. If your exceed your quota on the /home disk, you will be unable to connect to the Sterrewacht computers and receive email. From your virtual desktop you can access the storage device via the /data2 path. From any other Linux computer on the Leiden Observatory network, you can access your project data via /net/vdesk/data2. To keep the data from many users organized, please open a terminal and create a sub-directory with your Leiden Observatory username to store your data in. For example:
mkdir /net/vdesk/data2/jklaassen
cd /net/vdesk/data2/jklaassen
... etc ...
Please note that the data storage connected to the virtual desktop server is not meant for long-term storage. In principle, all data areas will be cleared after a student finishes to make room for newly arriving students. At the end of the project, the students and their supervisors are responsible for copying away any data that needs to be stored long-term, or discuss possible data retention options with the Leiden Observatory IT department. Also, please refrain from storing lots of personal data (vacation pictures, cat videos, etc.) on the storage device.
Tips and tricks
Copy and paste
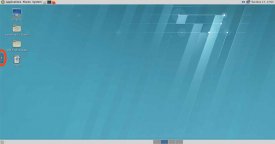
To copy and paste from your personal device to the STRW virtual workstation and vice versa, one has to use the Clipboard in the NoVNC control bar that is located on the left side of the window.
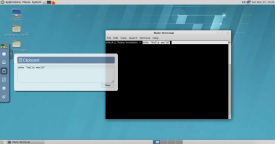
Selecting some text or a URL (for example) will be automatically copied to the clipboard. The content of the clipboard can be pasted to a programme running on the personal device.
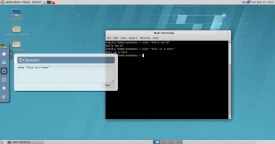
Similarly, a string copied from the local device to the NoVNC clipboard can be pasted to a programme running on the virtual workstation.
Display resolution
To change the number of pixels of your graphical interface, execute the following steps:
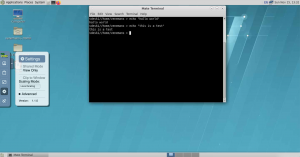
First, open the NoVNC control bar and click on Settings (the button one from the bottom). Deselect the Clip to Window and set the Scaling Mode to Local Scaling.
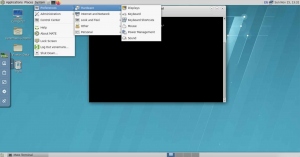
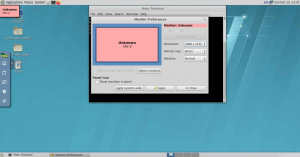
In the bar at the top of the screen, go to Preference → Hardware → Displays.

